
You may already be in the Configuration Wizard screen but if not, navigate to System Settings > Arranging Director Admin > Accounting Integration – QuickBooks Desktop > Configuration Wizard.
Configure Adjustments and Late Fees
The section will allow you to set up where Adjustments and Late Fees get linked to in Quickbooks (QB).
Note: If you do not link Adjustments and Fees to a QB item, they will not push to QB. This is for Adjustments and Fees, in the Account
screen of a record, that will be shown on the QB contract.
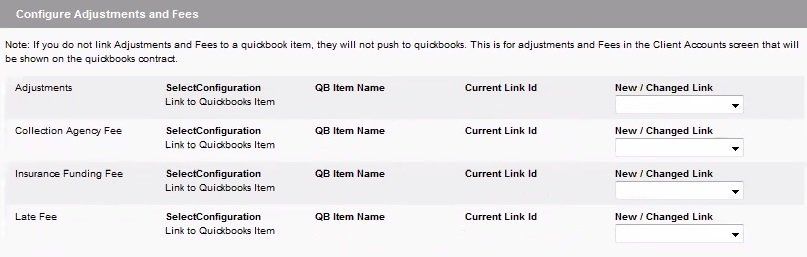
By individually linking each item to a QB item, the contract information passing through to QB will showcase each line item. This option will give very detailed information in QB.
To set this up:
- Refer to the New/Changed Link drop down and choose one of the following:
- If this does not apply to you, do not establish link by leaving the drop down set to "establish link".
- Choose the item to connect with QB.
- Click the Update Account Entry Links button.
Configure Refunds
This section will allow you to set up where “Refund to Family” payment entries, from the Account
screen within a record, will connect to in QB. These items push over as Credits to QB.
Note, If you do not link Family Refunds to a QB Bank Account, then family refunds will not push to QB. If you have multiple A/R Accounts, you will need to choose one on the Misc Configuration screen (next step).

To set this up:
- Refer to the New/Changed Link drop down and choose one of the following:
- If this does not apply to you, do not establish link by leaving the drop down set to "establish link".
- Choose the bank account where refund checks are issued out of.
- Click the Update Account Entry Links button.
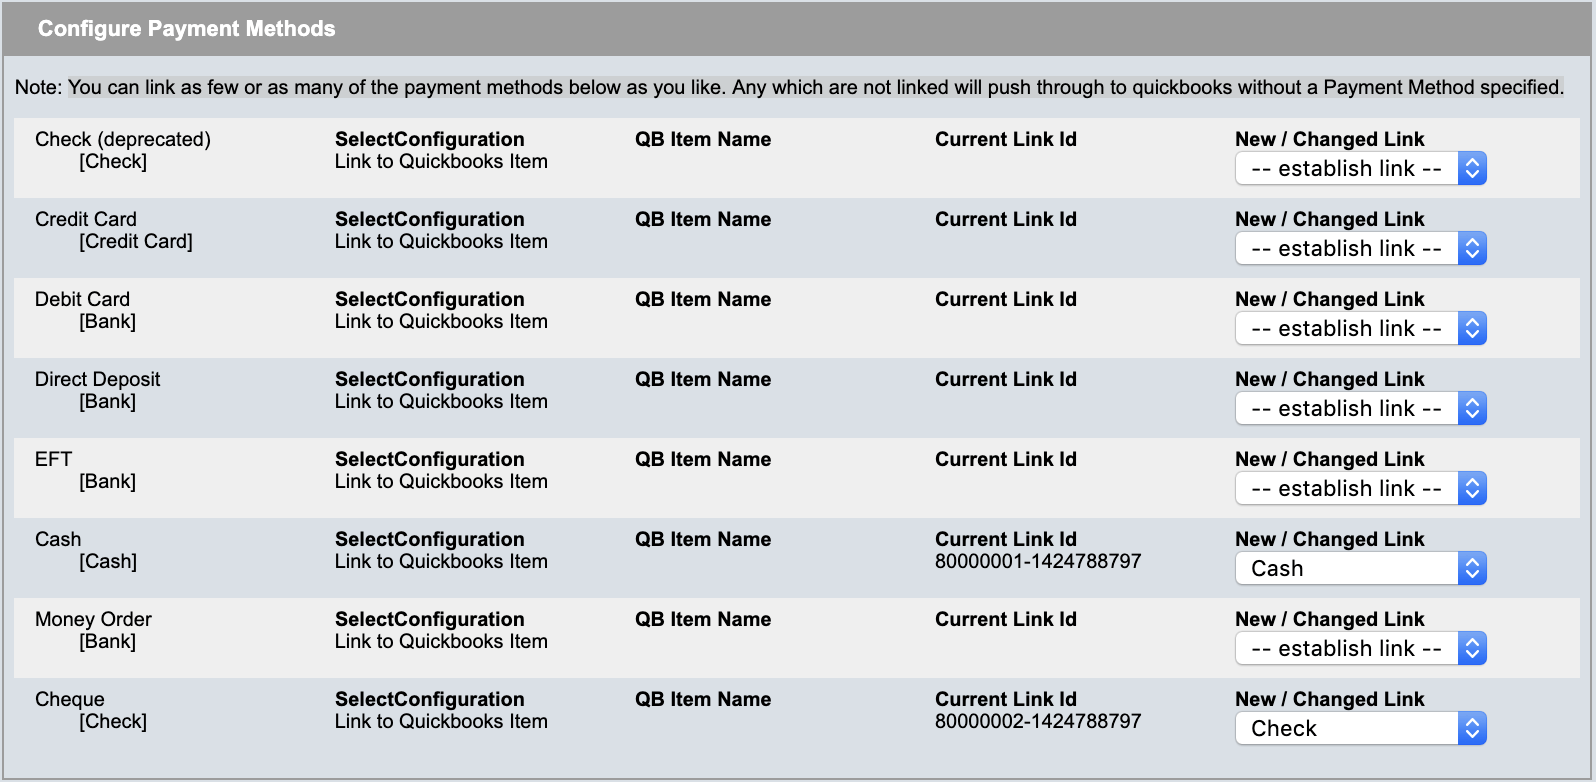
Configure Payment Methods
This section will allow you to set up where the payment types will connect to in QB.
Note, you can link as few or as many of the payment methods below as you like. Any which are not linked will push through to quickbooks without a Payment Method specified.
To set this up:
- Scroll to the bottom and click Update Payment Method Query.
- Open up the Web Connector and click Update Selected.
- Go back to the FRP system and click the refresh icon in top right to refresh the page.
- Refer to the New/Changed Link drop down and choose one of the following:
- If this does not apply to you, do not establish link by leaving the drop down set to "establish link".
- Choose the payment item to connect with QB.
Note, if you would like to adjust your payment methods in FRP, you can do so within the Data Setup
section of your system.
Click on the blue swirl button, located at the top right, to return to the Configuration Wizard.